

Connect your LMS in four steps
In DevKit, follow Platform, Tool URLs, LMS details, and Review to register your LMS.
- Choose Moodle, Canvas or another LTI 1.3 platform and check the setup requirements.
- Copy the configured Qriib tool URLs into your LMS, then enter the registration values your LMS gives you.
- Review the details before saving. Open a test activity first as an instructor, then as a learner to check both roles.
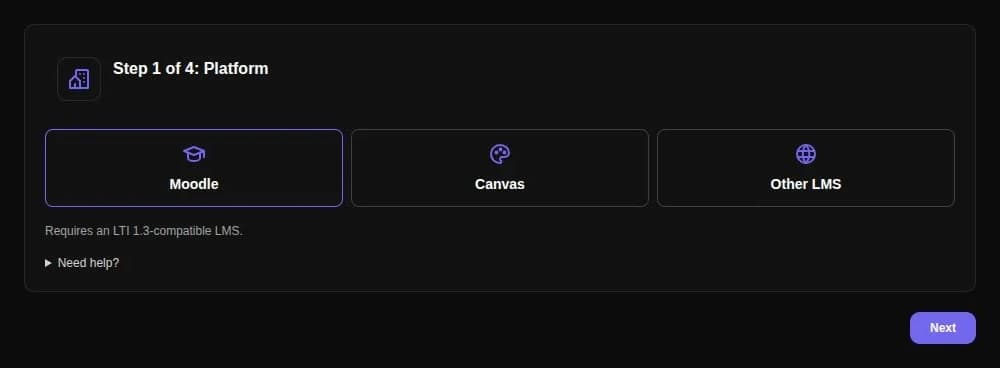
Choose your LMS to begin the four-step setup.
Schedule a weekly class series
Choose Schedule class, then Weekly. Select the days, start time, duration and end date, then choose Review sessions to see the dates before creating the series.
- Use Once for a single class, or Weekly to repeat on selected weekdays.
- Edit or cancel one occurrence, or manage the future scheduled classes in the series. Past, started and cancelled classes stay preserved.
- A series supports up to 52 occurrence dates within 365 calendar days. Sessions can last 5–480 minutes.
- Weekly scheduling requires an eligible Wesal Business subscription with LTI and scheduling enabled.
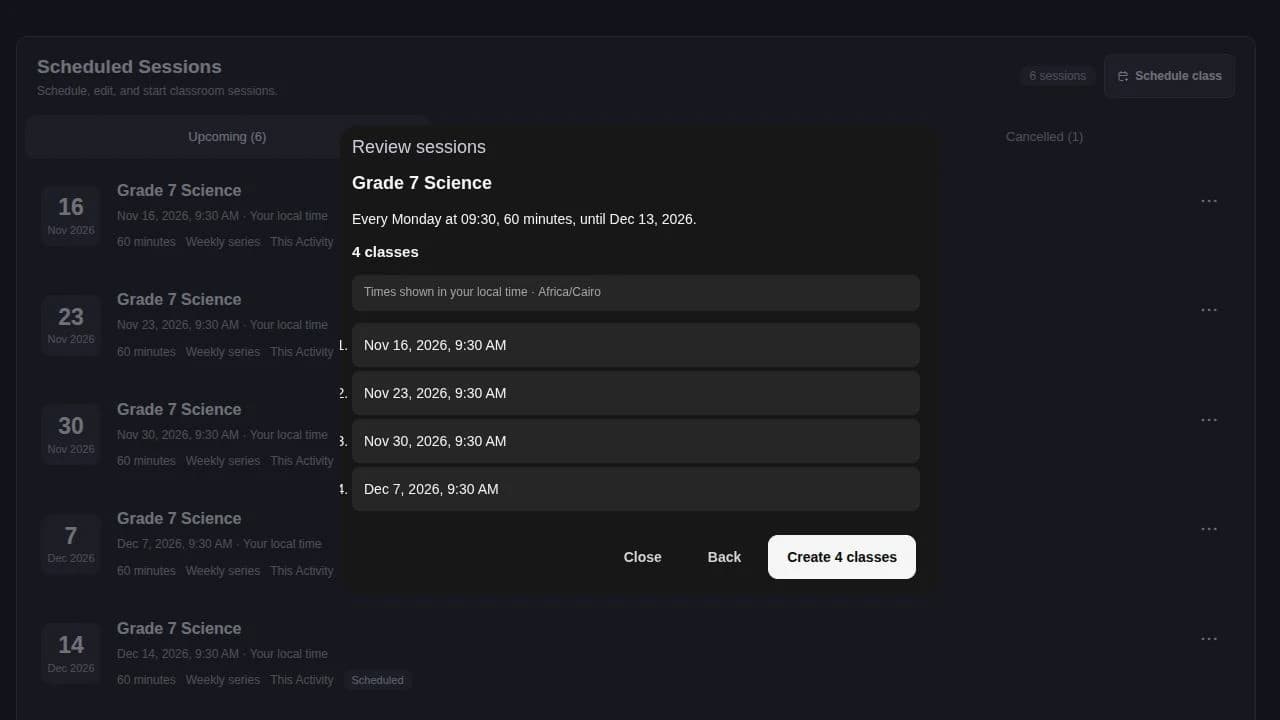
Review every date before creating the series. Example course shown.
Find the class you need
Switch between Upcoming, Past, and Cancelled to browse schedules for the current activity or course.
- Each tab shows its own count for the selected activity or course.
- Lists show five sessions per page, with Previous and Next controls.
- In Upcoming, live classes appear first, followed by the nearest scheduled classes.
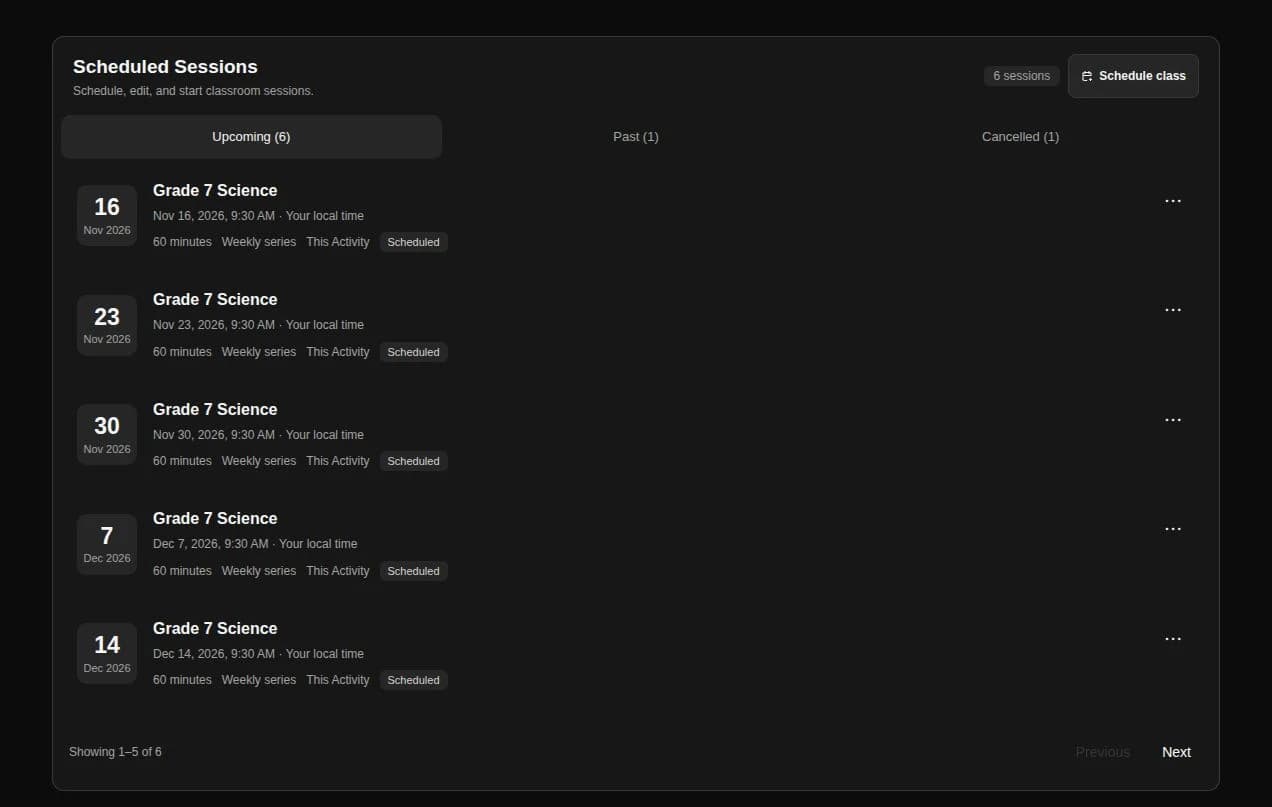
Browse classes by status, five at a time. Example course shown.
Give learners a view of the course schedule
Learners with schedule access can see classes for their current activity or authorized course from the LTI workspace.
- Learners can browse upcoming, past and cancelled schedules and join when a class is available.
- Creating, editing, cancelling and starting classes remain instructor actions.
Add a class to your calendar
For a scheduled or started session, choose Add to calendar to download an .ics file and import it into your calendar.
- Each download contains one session’s title, start time and duration.
- Private meeting links and participant information are excluded.
- The file is a snapshot of the session. Download it again if the schedule changes; later changes do not sync automatically.
Plan and read times in your local timezone
Scheduling forms detect your browser timezone. Class lists and date previews show times in your local timezone.
- Choose a date and time with the form controls, then pick a preset duration or enter custom minutes.
- Weekly series keep their original timezone. When you view one from another timezone, the form explains its source timezone.
- If a daylight-saving change skips or repeats a time, the form asks you to choose a valid time or the intended occurrence before saving.